Keyword groups let you segment your tracked keywords by theme, campaign, or any category that makes sense for your workflow, so you can filter and analyze them separately.
If you have not added keywords yet, go to Add keywords to Keyword Tracking first.
Before you start
A keyword can belong to more than one group at the same time.
Groups are available across all three tabs (Tracked Keywords, Competitor Analysis, and Ranking History), so filtering by group applies to the entire view.

You can create groups manually or generate them automatically using the AI-Based Keyword Group feature.
Create a keyword group manually
- In the Tracked Keywords tab, click the group icon next to the keyword group dropdown at the top left of the table.
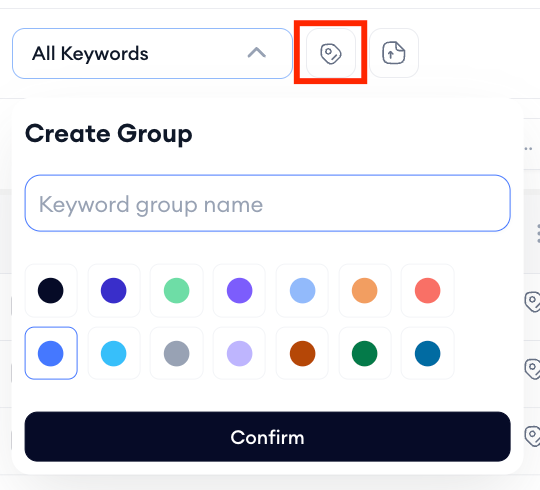
2. Click Confirm. The group is created and appears in the keyword group dropdown.
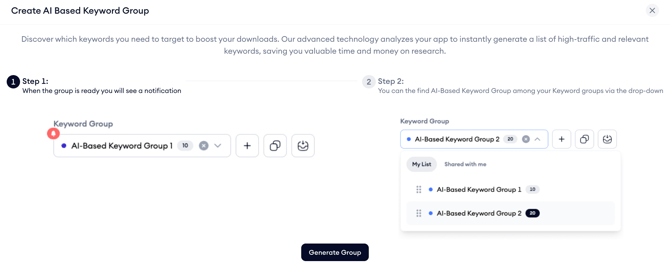
Generate a keyword group with AI
1. Click Get AI Suggestion in the top right of the Tracked Keywords tab.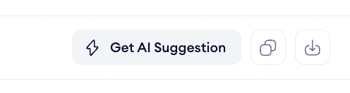
Add keywords to an existing group
4. In the Tracked Keywords table, click on the group icon next to the keyword you want to add to a group. A dropdown appears showing your available groups.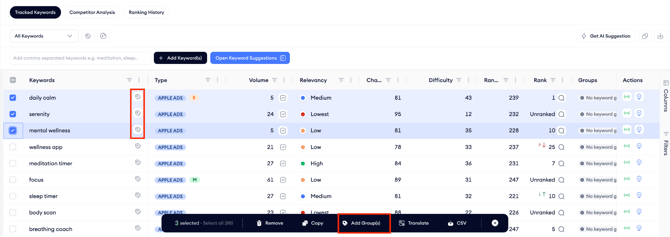
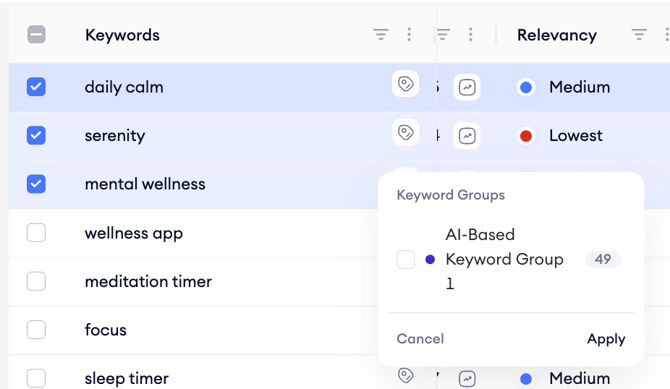
You can also add multiple keywords to a group at once by selecting them using the checkboxes on the left side of the table, then clicking Add Group(s) in the bulk action bar that appears at the bottom of the screen.
Edit or delete a keyword group
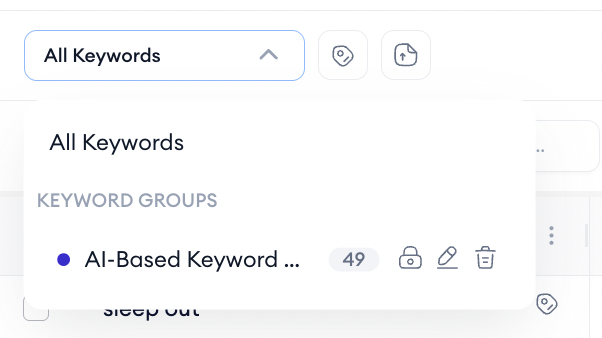
In the keyword group dropdown at the top left of the table, hover over the group you want to edit.
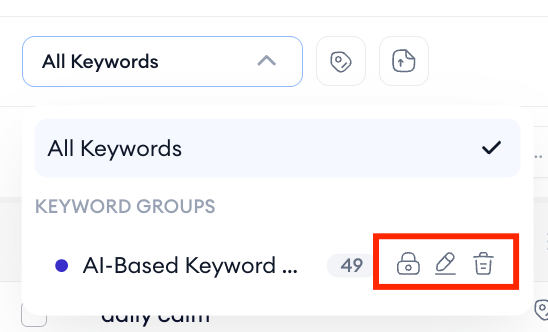
Use the pencil icon to rename the group or change its color, the lock icon to change the privacy settings for that keyword group and the trash icon to delete it. Deleting a group does not remove the keywords inside it; it only removes the group itself.
After you finish
Once your groups are set up, use the keyword group dropdown at the top of the table to filter the view to a specific group. This filter can be used across all three tabs, so you can focus your Competitor Analysis and Ranking History views on the same keyword set. To review performance metrics for your grouped keywords, go to Review tracked keyword performance.
Related links
Need more help?
If you have further questions on the process, contact your dedicated Customer Success Manager or contact the support team via live chat.